
Have you ever embroidered on paper? Well, it's both fun and frustrating I'm not going to lie! I love that it's very intentional in that you need to poke the holes and place the stitches in specific places, vs embroidering on fabric, where you can pretty much put stitches where ever you want. If you've purchased our Making Connections Kit here are a few more tips and tricks to embroidering on paper. If you haven't bought it yet- go grab one!
Before you start.
Think about the stitches you want to use to embroider the card. I'd suggest grabbing another piece of cardstock and doing a few practice stitches. For this card I used mostly back stitches or straight stitches and a few French knots. Throw in a few cross stitches, which are basically straight stitches.
Efficiency
My advice is to try to be as efficient with your stitches and thread as you can. Simply work your way around each quilt square, stitch by stitch. Similar to stitching on thread, you don't want to have huge long tails on the backside.
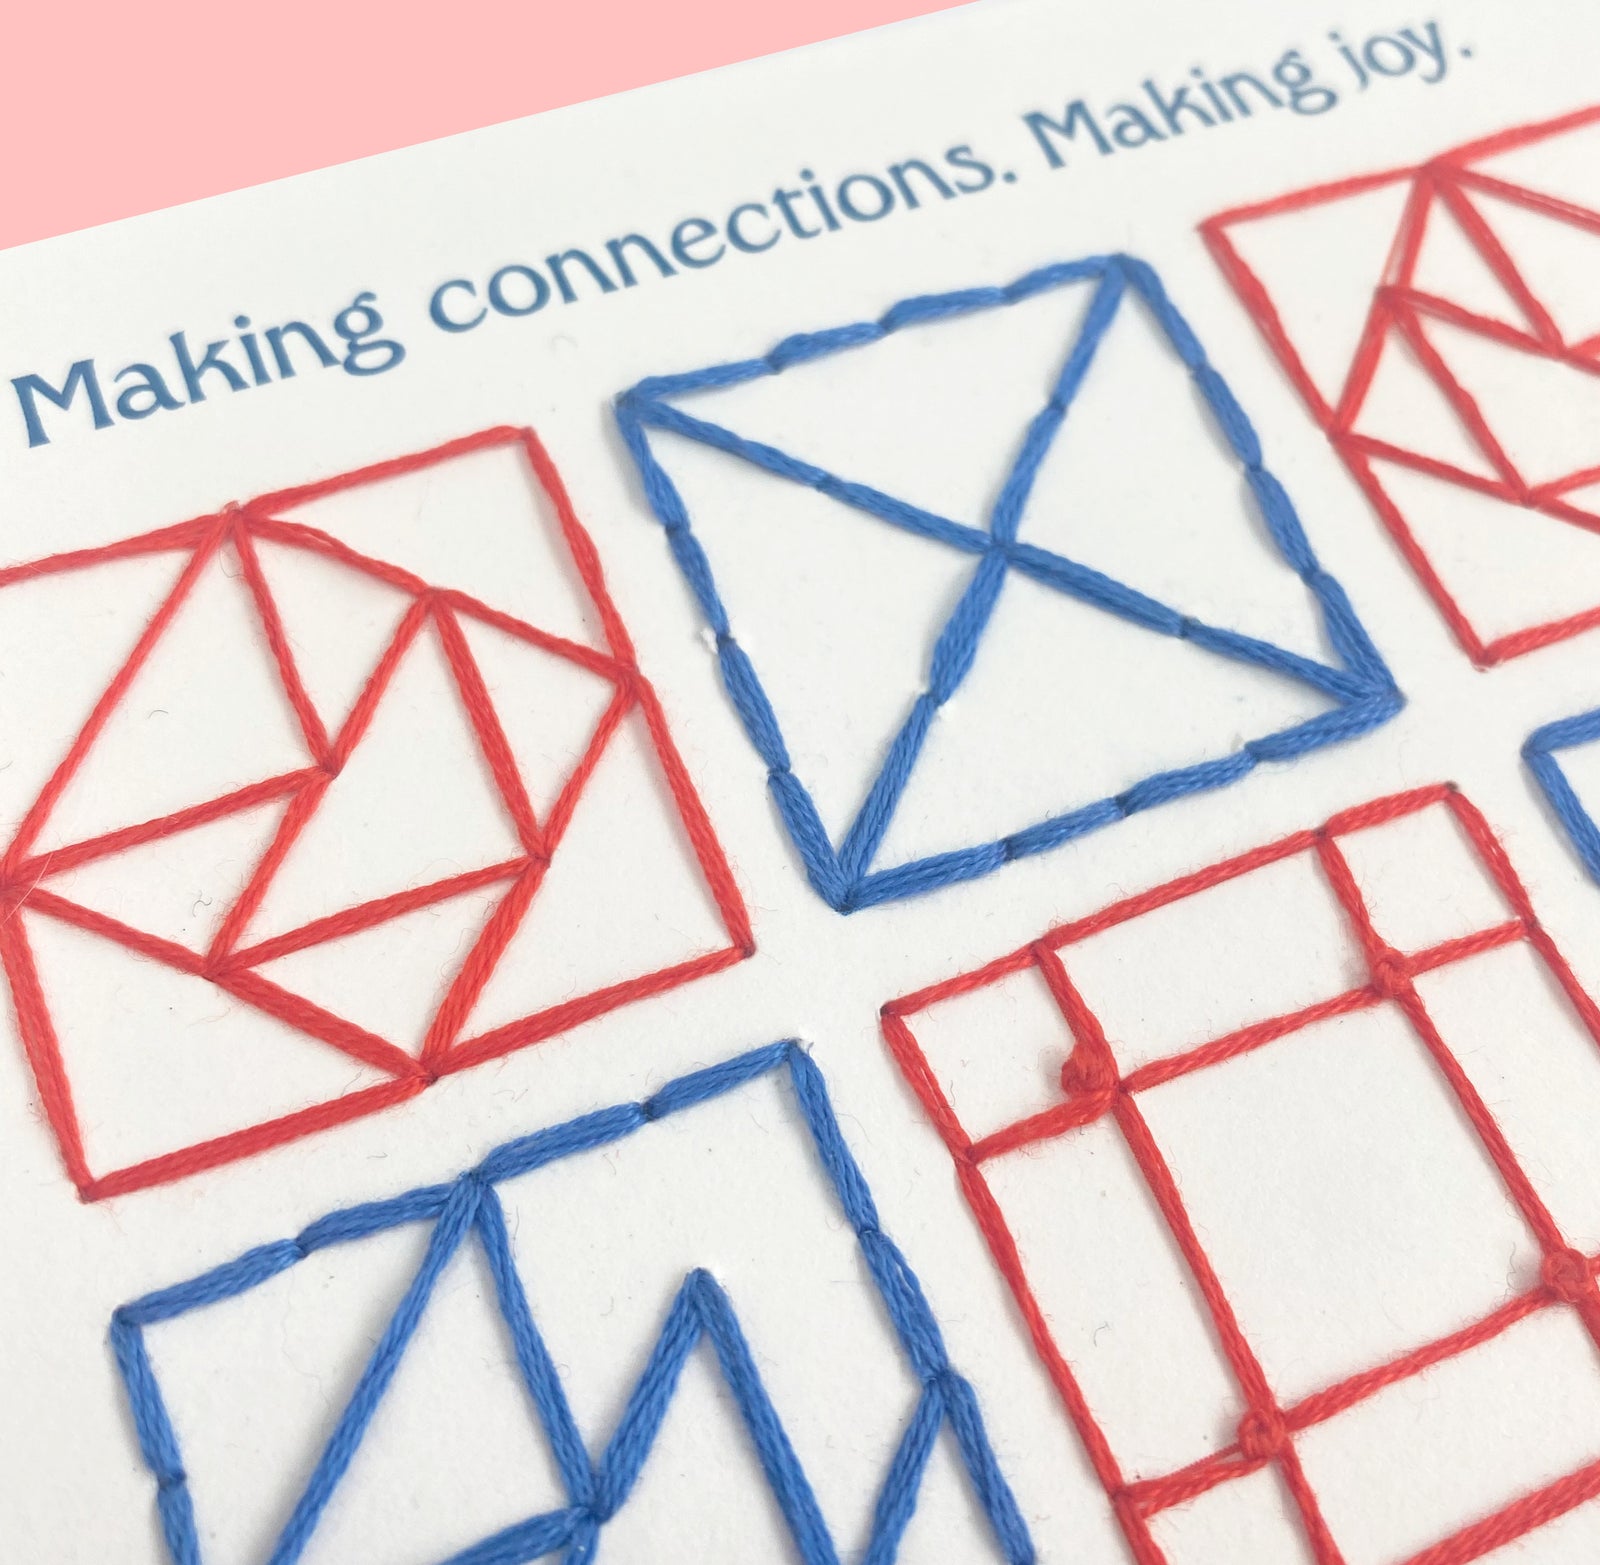
Punch Holes
Start by punching holes in the card stock. You can pick one square to start with and punch those holes, or punch all the holes on all the squares. Here is a diagram of what your hole punches might look like. 


Leave a comment (all fields required)