DIY Embroidery Patch Packs.
Customize your life.
These unique DIY patch kits are so much fun! The best part is that the patches are pre-made, meaning you don't need to make the patch itself, it's already done so you can concentrate on embroidering your design.
Although the designs for each kit will be different, the technique is the same. Here is an overview of how to get started. And then I'll give a few tips to make it easier.
If you've never used water soluble stabilizer before, you are probably going to love it. And these pre-made patches are just amazing. No cutting out felt and painstakingly stitching all the way around it.
Here are some tips and guides to help you along the way. As you stitch, I'd LOVE to see your progress! Post it to IG and tag me @KellerDesignCo !
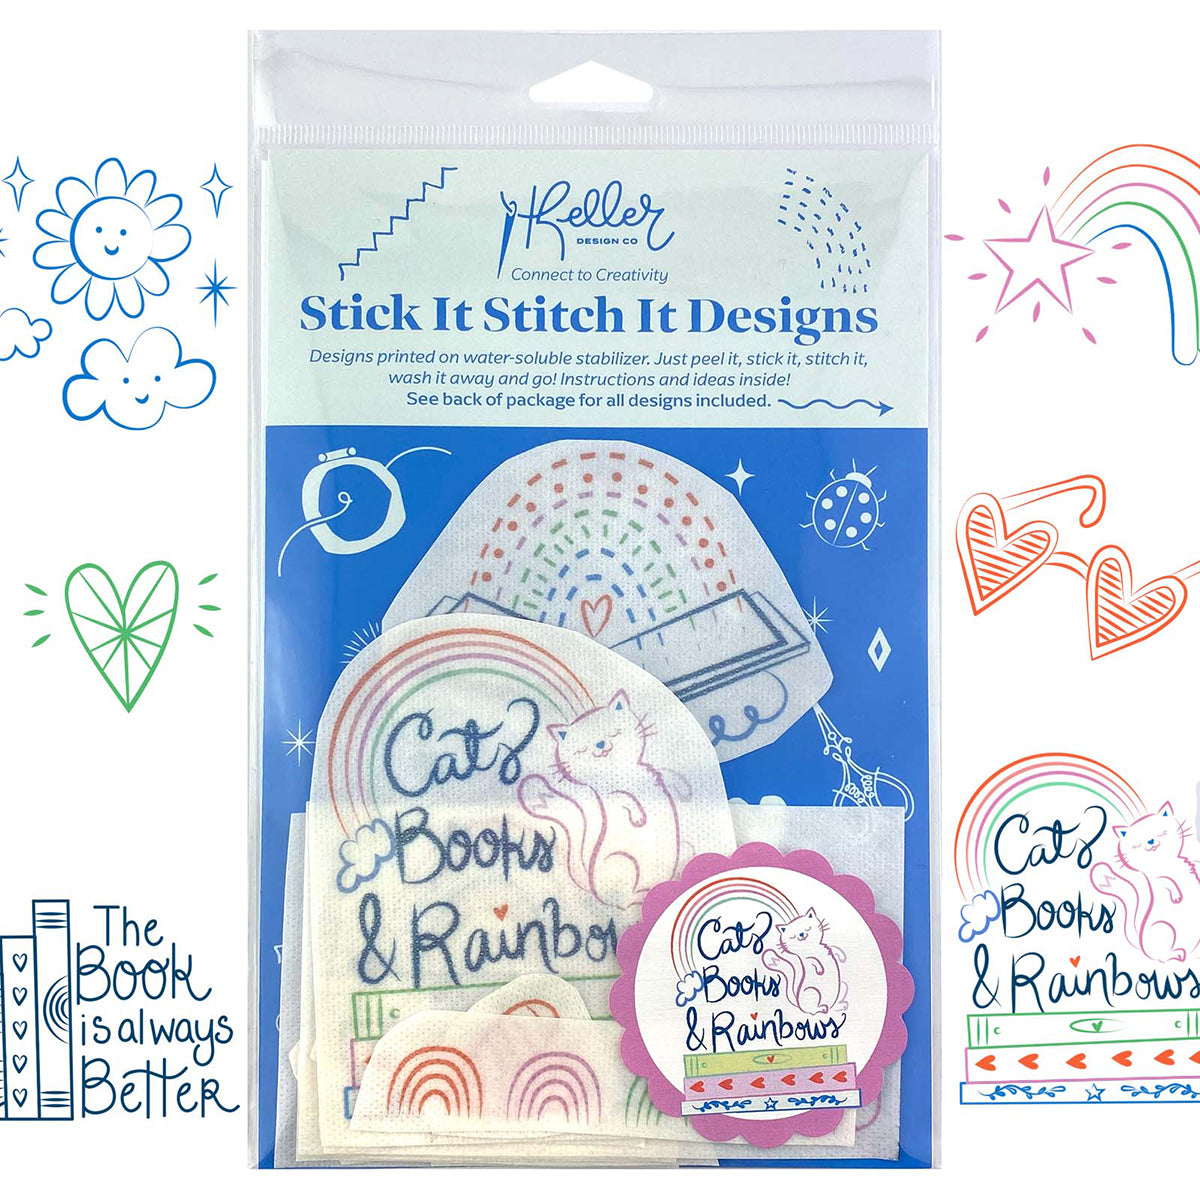
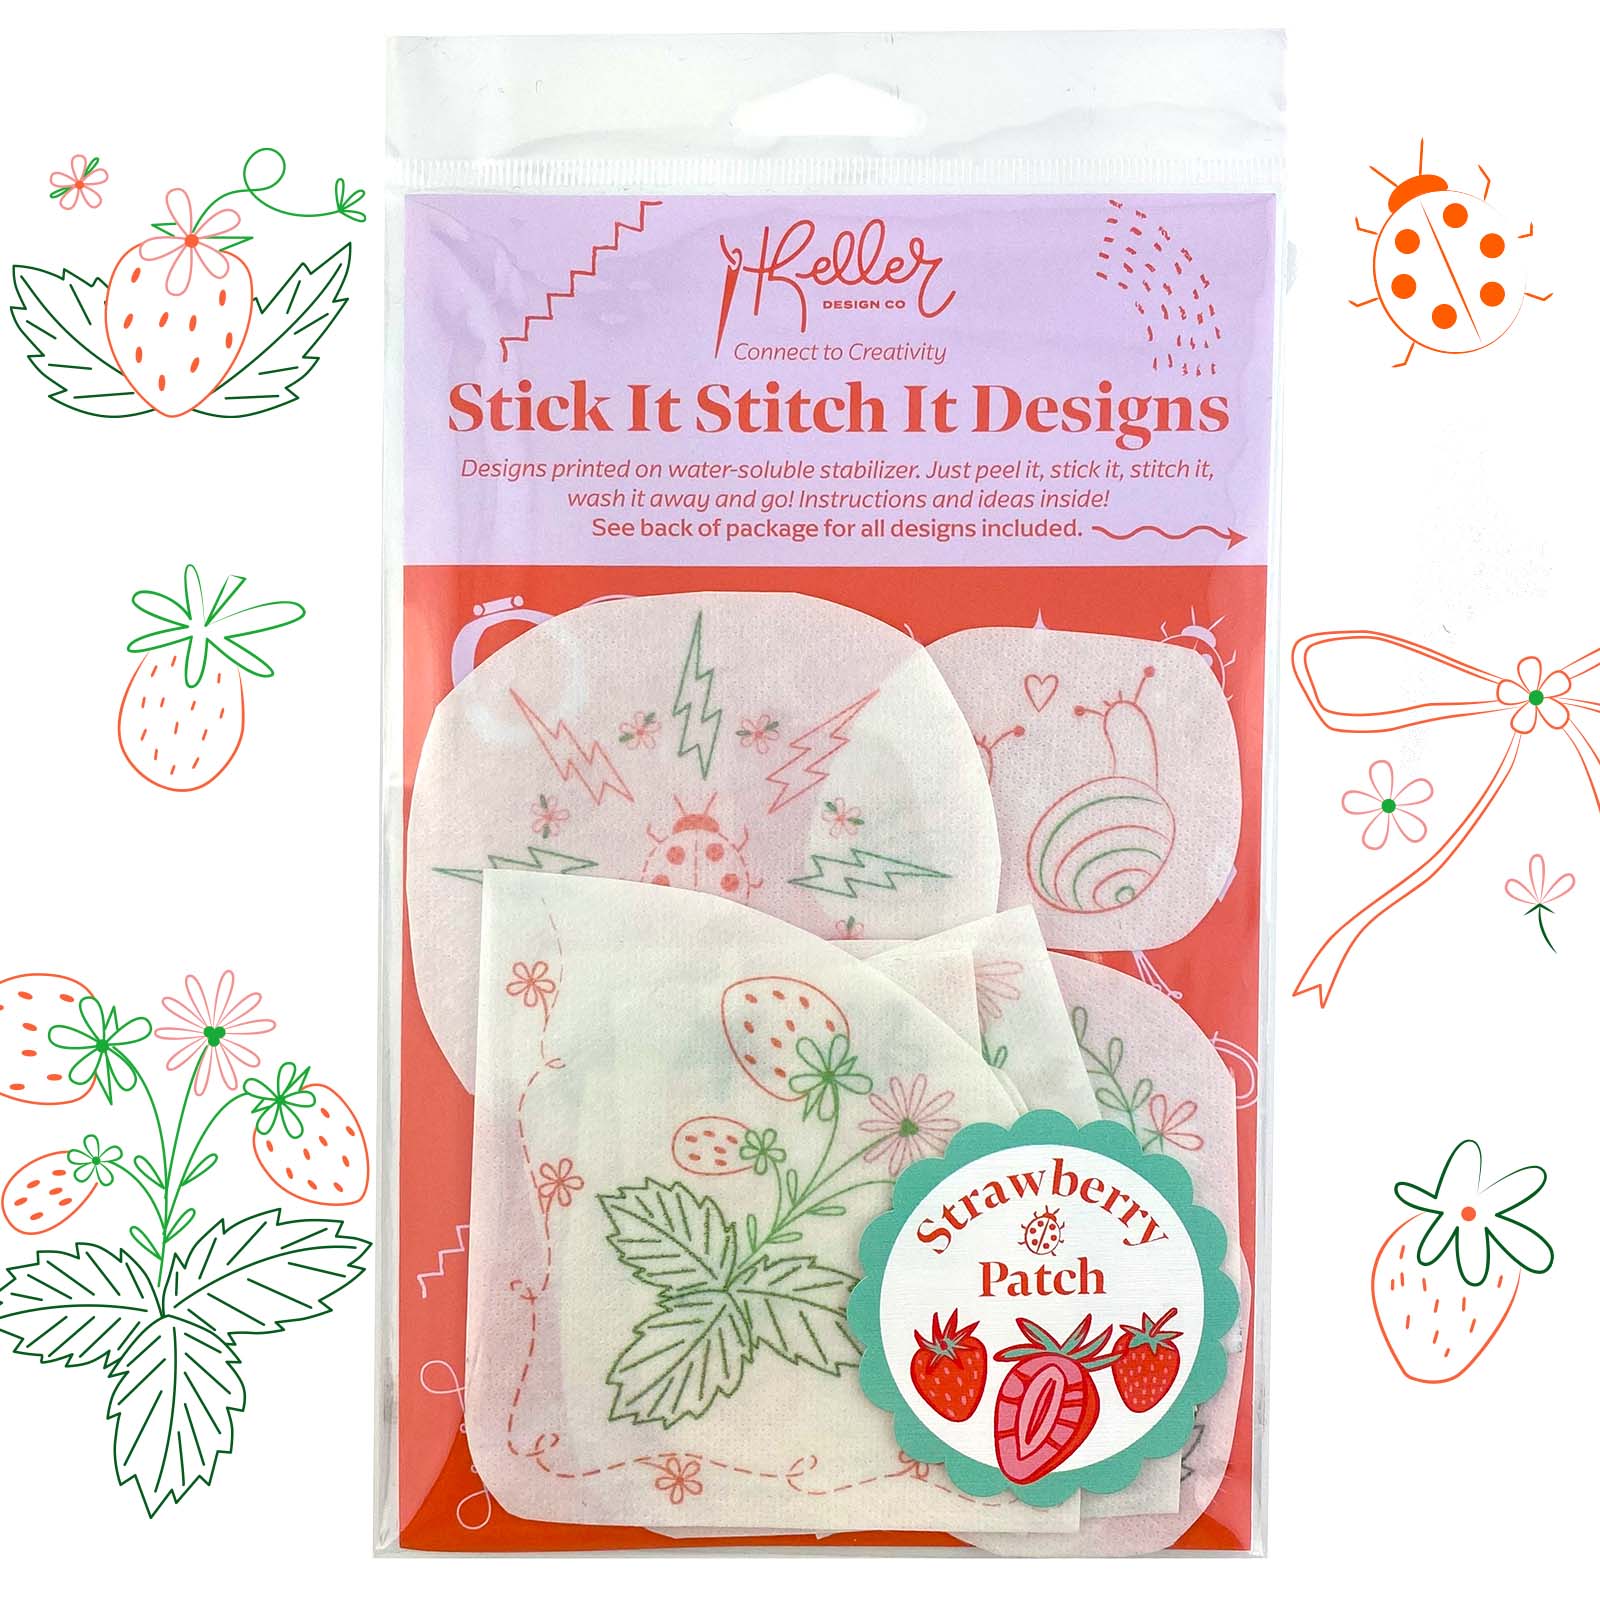
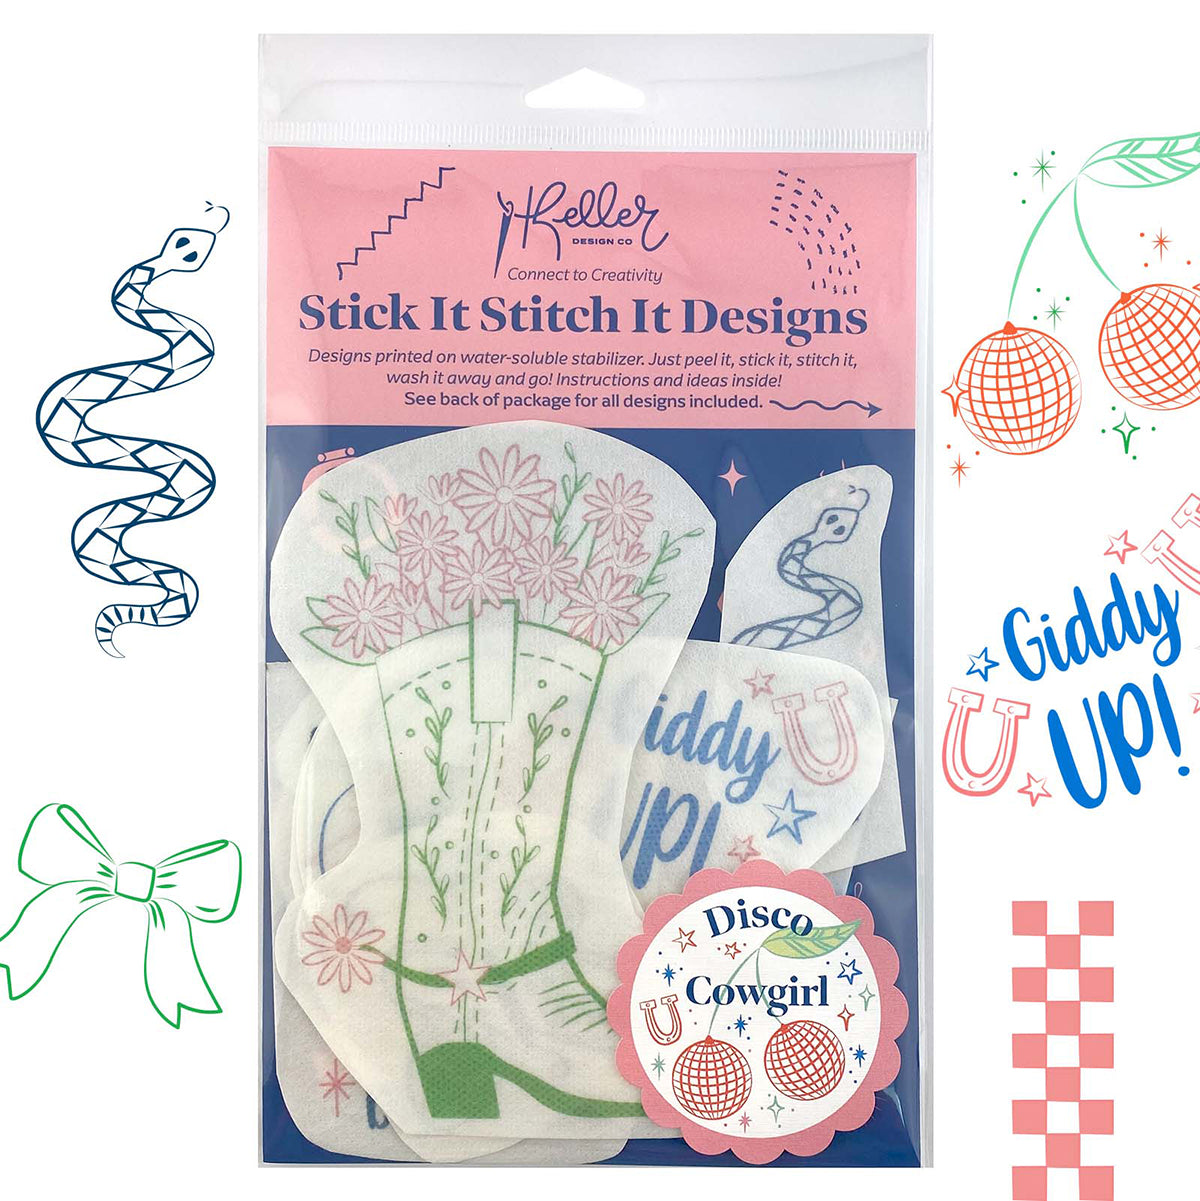
If you purchased one of my Patch Packs, you should have received the following:
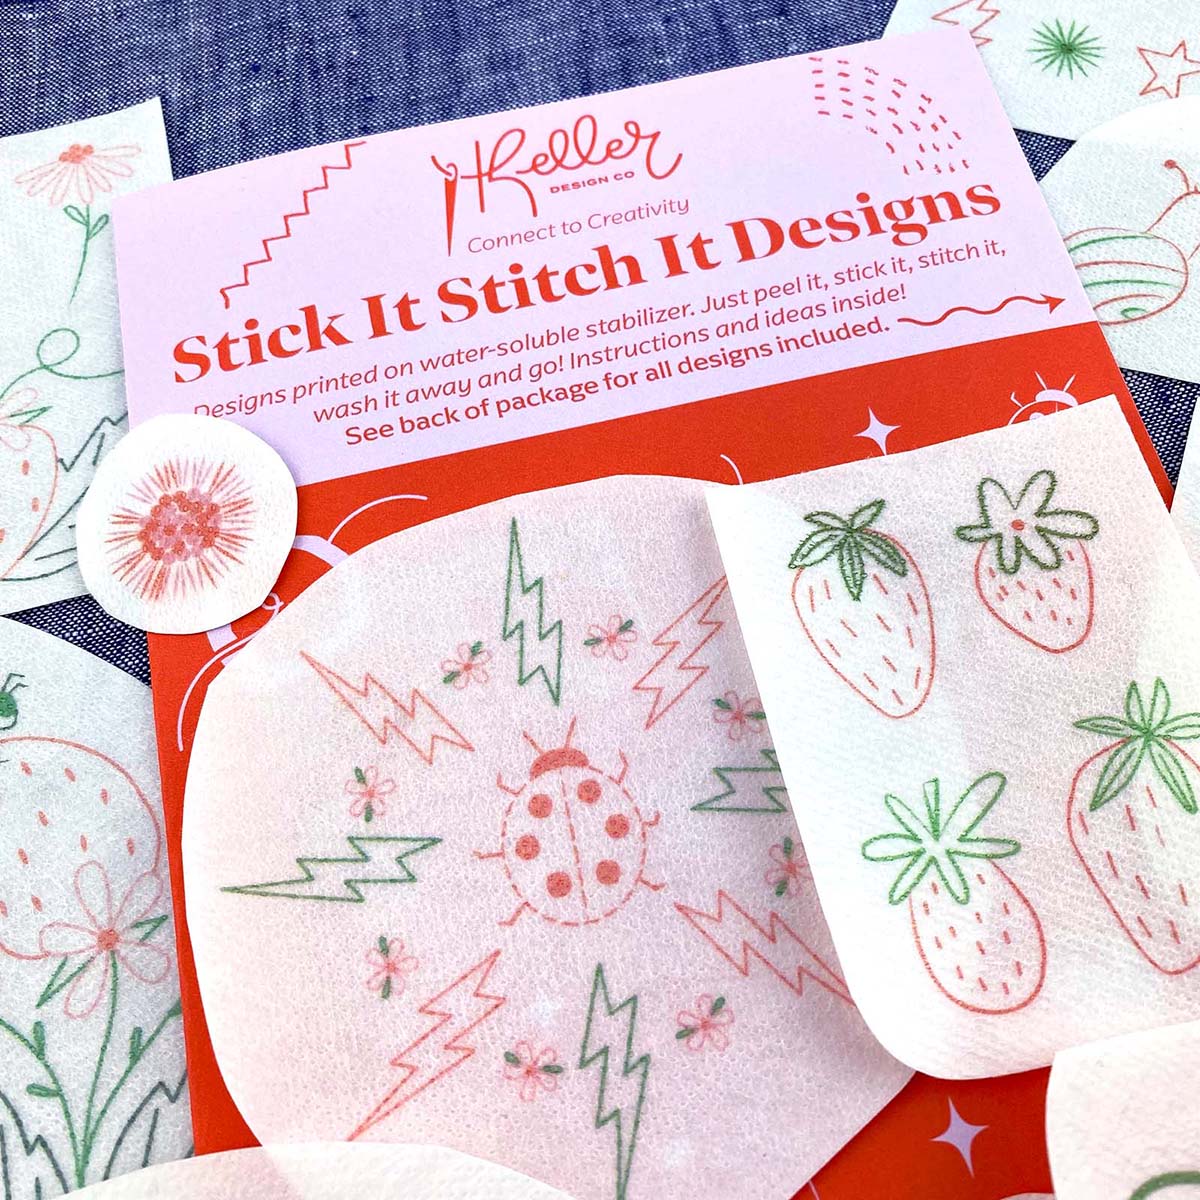
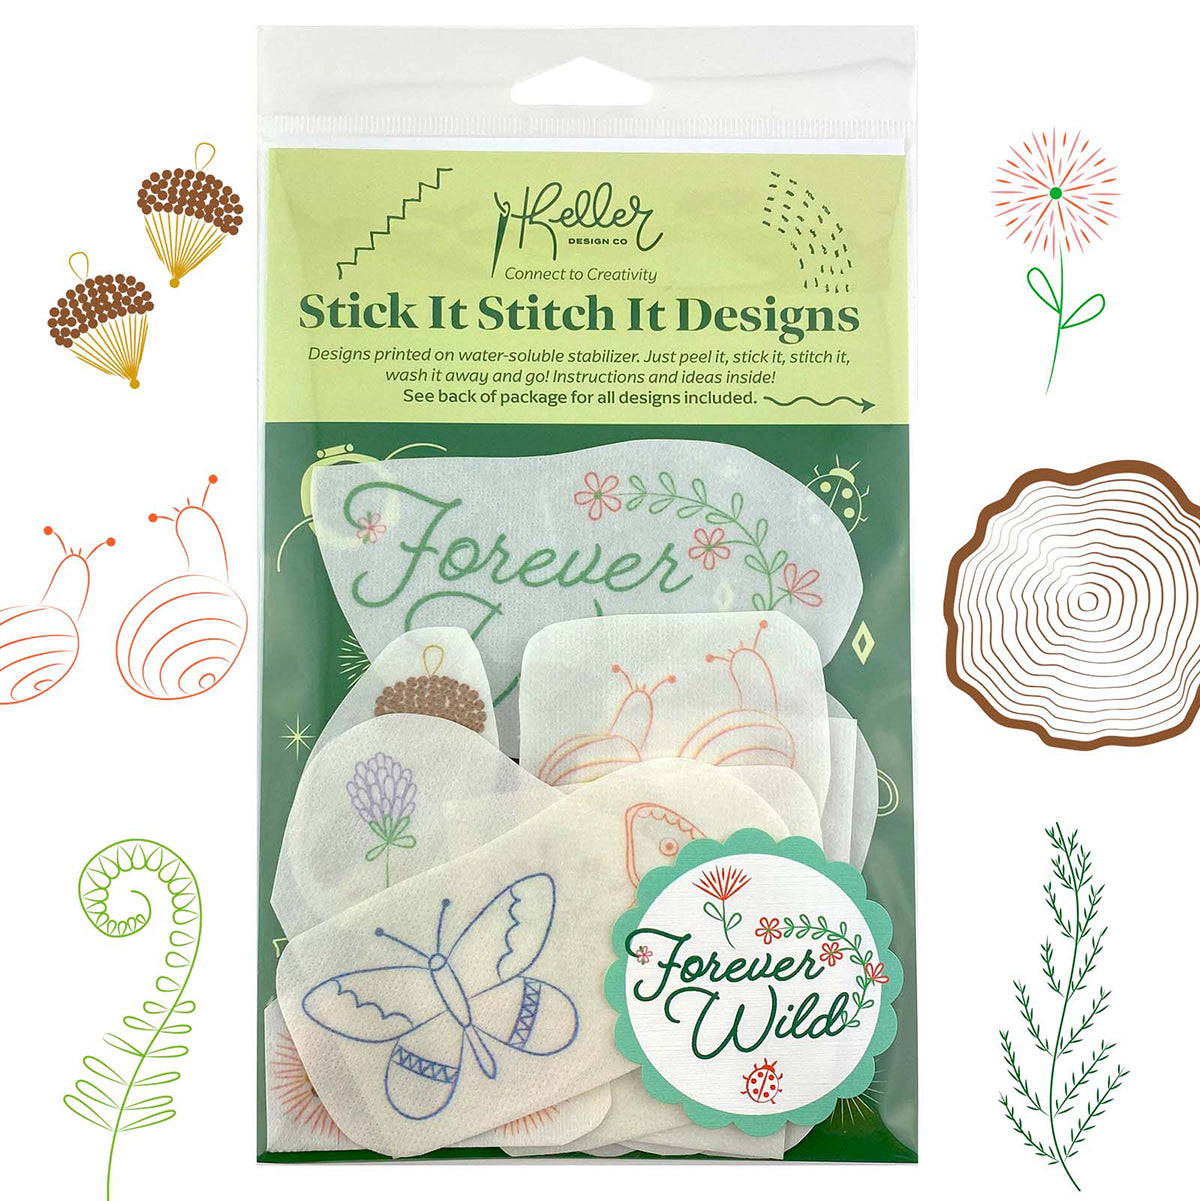
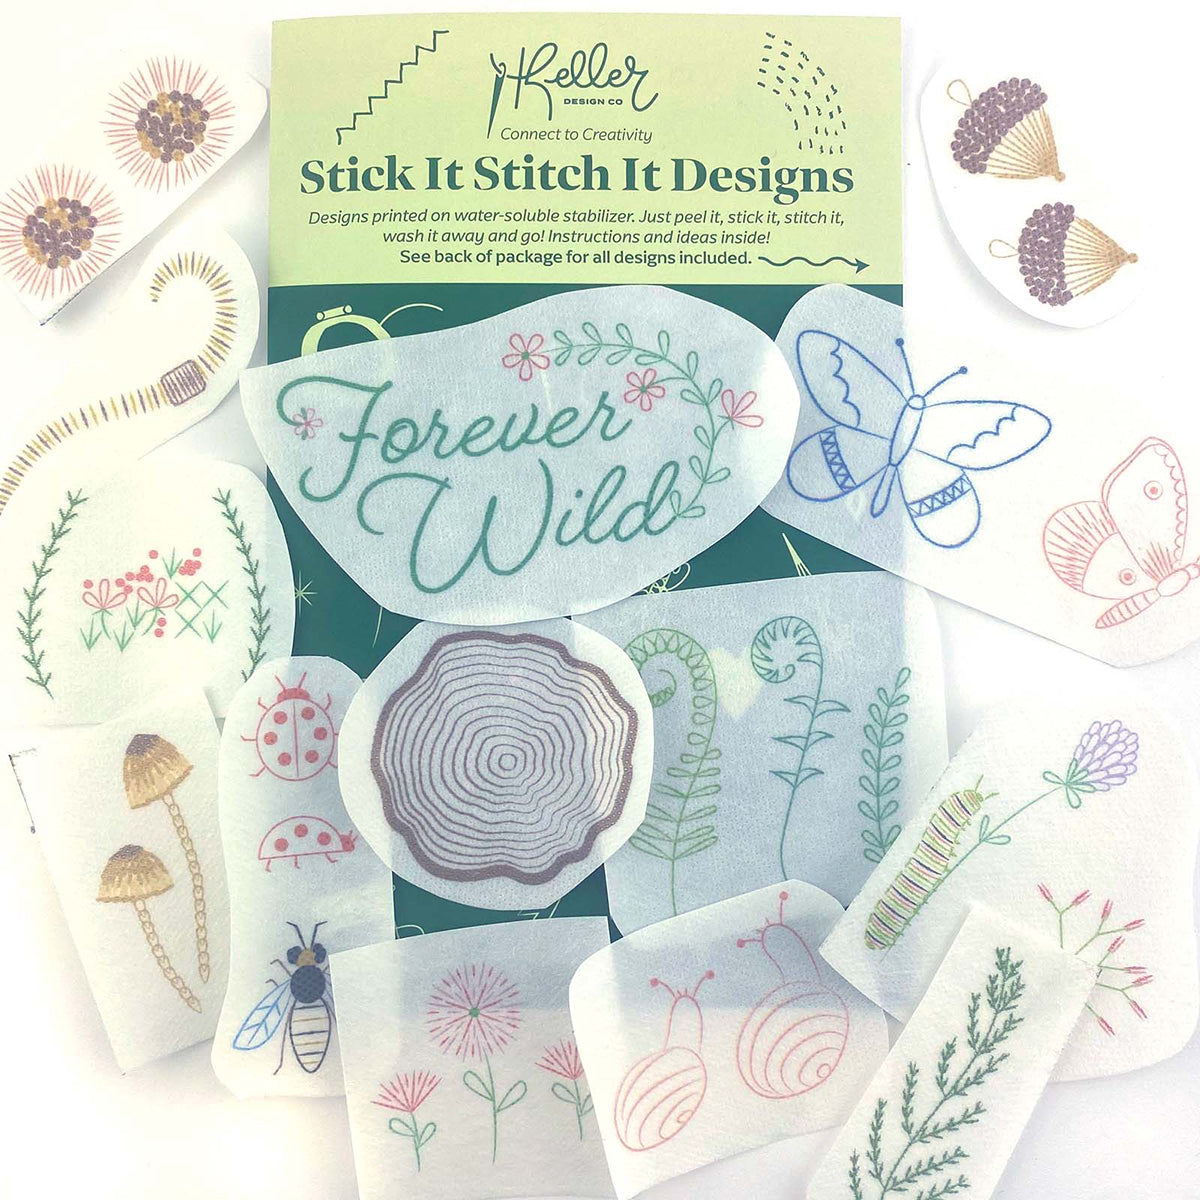
- Designs printed on water soluble stabilizer.
- Instruction packet
- 6 strand DMC Floss
- 1 Needle
- Pre- Made Patch(es)
You will need:
- Small scissors
- Running water.
- Soft clean cloth or paper towels. And I like to also use a very soft clean toothbrush, but not necessary.
- You can download my Stitch Guide here to get started, learn new stitches or brush up if you haven't stitched in a while
How To:
-
First, choose the design you want to stitch. Cut it out along the dotted line. Be careful with the water soluble stabilizer- if it gets wet, it will start to dissolve. If that happens, just stop, let it dry and then continue.

-
Peel the backing off of the design you just cut out. The backside is sticky and repositionable. You can use a needle to pull it off the backing if it's hard to remove. Or tweezers.


- Stick the design to the patch of your choice. The cutout should fit within the stitched border of the patch. If it doesn't fit, you can trim off a bit more.

-
Start stitching the design! Use the colors of thread I've included, or choose your own! You don't need a hoop because these are so small.


-
STITCH TIP: If the patch seems a bit stiff, you can gently soften it by scrunching it up in your hand a bit. This will soften up the back of the patch a bit.

-
STITCH TIP: Use a thimble to help push the needle through the patch if its tough to push through.
-
After you've finished stitching your patch, you'll need to gently wash off the water soluble stabilizer. I simple run mine under warm (not hot, nor cold) water. Since some of these patches have a "paper backing" I don't like to submerse them in water. If your faucet has a sprayer on it, spray the top of the patch gently. As you was it off, the stabilizer will start to get "gooey" and flake off. Keep washing until it's all gone. It's like magic! You can gently brush it with your finger or a very soft brush/ clean toothbrush.

-
After washing off the stabilizer, I like to blot the patch dry with a soft cloth or paper towels. And then lay flat to dry!

-
After the patch has fully dried it's ready to be attached to your jacket, tote bag or wherever you want! You can either stitch it down using sewing thread around the edges or use a more permanent option like Peel 'n Stick Fabric Fuse.


-
Tag me at @KellerDesignCo on IG so I can see what you're creating!

Happy stitching,
Amy




Leave a comment (all fields required)